Exit Order Safety
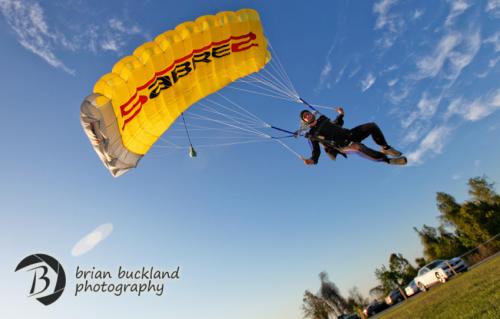
Brian Germain and wife Laura Kraus launch an exit over Voss, Norway. Photo by Ron Holan
There are many different views on exit order, although only some of them are based in science. The following exit order plan is based on the principle of "prop blast penetration": the degree to which a jumper remains under the aircraft based on the drag produced by their body position. When a jumper assumed a low drag body position, head down for instance, they follow a longer arc through the sky on their way to vertical descent.
The fastest falling skydivers are freefliers, which means that they remain under the aircraft longest. If freefliers exit the aircraft first, their trajectory will take them toward, and often beyond the trajectory of flat flyers exiting after them. This fact has been proven time and again in the numerous close calls that have led to the creation of this exit order model. Therefore, the best way to create maximum separation between jumpers at deployment time is to have the FS "flat" jumpers exit before the freefliers, regardless of deployment altitude.
Beyond this, we must also consider formation size when planning exit order. Since the last groups out of the airplane are more likely to land off the dropzone, large groups tend to exit before small groups based on the "needs of the many outweigh the needs of the few" principle of human civilization. I concur that this is a good plan, but for another set of reasons. Large groups tend to open lower than small groups due to task fixation and the need for adequate tracking time to create safe separation. This means participants of large formations should open closer to the dropzone. Further, smaller groups have the option of breaking off early, tracking perpendicular to the jumprun and pulling high to compensate for long spots, while the complexity of building a large formation makes it difficult to take such steps toward safety due to the peer pressure associated with the situation.
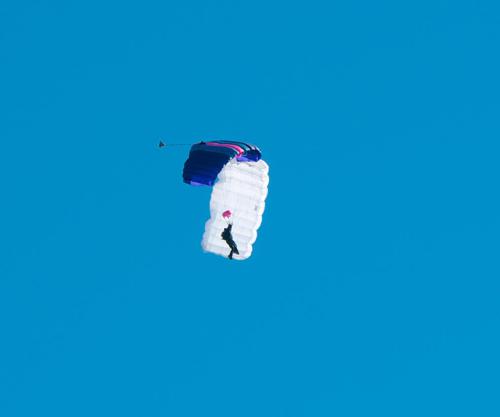
Photo by Ron Holan
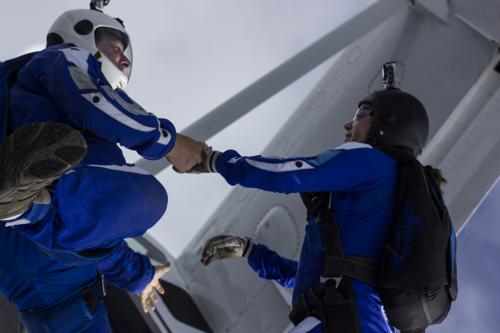
The Exit Sequence
So this brings us to the preliminary plan of sending the flat flyers out first, in groups largest to smallest, then the freefliers. However, since inexperienced freefliers most often remain under the aircraft for a shorter period of time than vertically oriented freefliers performing perfect zero angle of attack exits, the order should be lowest experience to highest. This also allows the more experienced freefliers to observe the exits of the novices, giving them the opportunity to give helpful advice, and to provide extra time in the door if necessary. If the previous skydiver or group is still under the airplane, do not jump. When in doubt, wait longer.
Following the flats and then the vertical skydivers, we have the students and tandems. The order can be varied here, although there are some reasons to support sending the tandems out last. First, landing a tandem off the DZ is safer than landing a student into an unknown location. Second, students can sometimes get open lower than planned, which not only increases their risks of landing off, but puts the instructors at risk of landing off even more as they open lower than their students. Tandems on the other hand have the option of pulling whenever they see fit, which allows the camera flyer to get open high as well.
The last groups to consider are those involved in horizontal skydives, such as tracking, "atmonauti" or steep tracking, and wingsuit pilots. The truth is, experienced horizontal skydivers can safety get out of the way of other jumpers quite easily, and can exit in any part of the order. However, in the case of two or more horizontal skydiving groups, plans must be created and followed with vigilance. For instance, one tracking group can exit first and track out and up the right side of the jumprun, while another group can exit last and offset toward the left side of the jumprun. Three horizontal groups on the same aircraft are best handled by adding a second pass, although there is a great deal of room for creative answers when wingsuit pilots are involved.
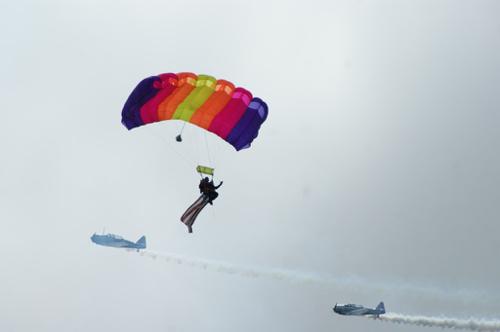
Photo by Ron Holan
Timing the Exits
The amount of time between groups must vary based on the groundspeed of the aircraft. On a windy day, with an into-the-wind jump-run, the aircraft may move quite slowly across the ground, reducing separation between jumpers. This requires significant time between exits, perhaps as much as 15 seconds or more on a windy day or a slow airplane. The separation between groups can be increased quite easily on windy days by crabbing the aircraft with respect to the upper level winds, a practice that has become increasingly common at large dropzones. For a scientific explanation of exit separation, please read John Kallend’s PowerPoint, found here.
Many jumpers believe that once the freefall is over, there is no way to prevent a collision. However, given the glide ratio of modern parachutes, we have the ability to close the gap quickly after opening by pointing our canopies in the wrong direction. Given the fact that the vast majority of skydivers will be opening reasonably close to the jumprun, immediately flying up or down the line of flight is pretty much always a poor choice. Therefore, once you have cleared your airspace and pulled, your job is to look for traffic in your immediate vicinity and then fly your parachute perpendicular to the jumprun heading. I like to call this “Canopy Tracking”. Once you verify that the others are open and note their location, you can begin to navigate toward the play area and then to the pattern entry point. This all requires a great deal of awareness and adaptability, as even the best plan can change quickly in a complex environment.
The bottom line is this: keep talking. Every load is a brand new set of circumstances, and requires a good deal of thought and planning. Make sure everyone arrives at the loading area no later than the ten minute call to allow for healthy preparation time. Most accidents and close calls could have been easily avoided by skydivers talking to skydivers, and skydivers talking to pilots. Take your time in the door, keep your eyes open and take care of each other. It is a big sky up there, and when we work together, safety is the likely conclusion.
Brian Germain is a skydiving safety advocate, and has written numerous books and articles on the topic. He has a regular spot on Skydive Radio called Safety First, and has made over 150 safety related videos, all available through AdventureWisdom.com